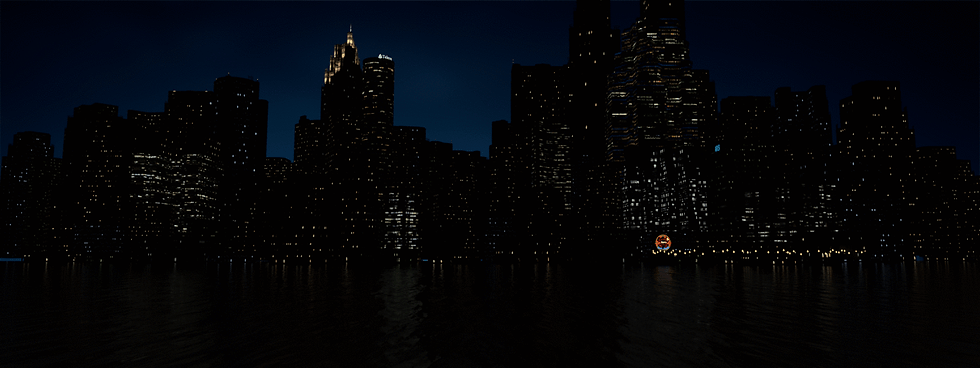
Making of Urban City
- Oct 9, 2016
- 3 min read

Hello everyone!
I recently have finished one personal project "Urban City" and I decided to write a post about it because it's 4 in the morning and I got nothing to do.
Please enjoy!
I found this great script that allow you to generate procedural city buildings called Kludge City. (http://kludgeworks.com/kludgecity/)
I spend couple of hour messing with it and started think 'oh I can do little quick project out of it'.
and you know what?
I did.
1. Blocking the skyline
You can make buildings and skyscraper with Kludge City really quick. But the problem is, they all look kinda same even though there are some options for variation. So I decided not to show too much closeups and geometric details rather than go into individual buildings and add extra details. That would make the project too big and time consuming. I wanted it to be short - side project kinda deal.
So I started Block the skyline and turn all the shaders into VrayMtl, put procedural textures on the windows. At this point, I was focusing on finding good skyline shape.

<Building Geometry>

<First test render with a procedural window illumination>
2. Variation, Camera
After first test render, I like the reflections on the water and decided push this feature further. And I also wanted to make some variation on the windows, change camera angle.
Plus, started exporting window geo and paint it in Mari for even more variation.

<Variation for the windows>

< Water texture for pushing reflection, painted custom window textures>
3. Crab Shack


Um.. It's San's Crab Shack! Owner couple open their business in 1991 around Pier 22 Sacranto City. The place is famous for fresh seafood and great view of the port.
and also fake.


I had to come up with some random company names and even design the logos for it. I did one.

And I did these two after that.
H&W. Yep that's how creative I am.
Well, there are some original signs that I totally made up.
Like telecommunication company Teleon

Or Htel & Resorts brand Bremont

The point is, I wanted put some neon signs. Glowing stuffs are always pretty. Right?
3. Keep doing it
Started exterior lighting / making more neon signs / changing layout / more custom window textures/ rooftop props / Construction Cranes / etc...

<Texture / Lighting progress>
While doing this, the challenge was putting more lights and not revealing yucky parts I didn't want to show. Finding good exposure level of the image was hard too.
4. Comp
This one is comped in Nuke.
Usual pass comping and one extra fog pass is used.
The image is rendered in deep exr for comping fog pass later, but I had little trouble with fog pass in deep. So I ended up just using normal exr (Fog volume deep exr image was about 3gig and it seems like Nuke has problem with it. If anyone have an answer. please?)

<Compositing Progress>
5. Importance of eyeballing
The Project was quick. It took me about 2 weeks start to finish. Without render time, little more than a week after I got home from work. So I'm pretty happy with the result considering time I spent on it.
One thing I want to mention is for this one, I didn't really care about physically accurate lighting / shading. Whatever I do, if it looks good in render and I'm good to go.
Eyeballing beats PBR
That's it!
Thanks y'all!!


![[번역] Unbiased 렌더링에 대한 진실](https://img.youtube.com/vi/tKaKvWqTFlw/mqdefault.jpg)


Comments